Instructions: Updating ESP Wifi Module Firmware
These instructions will guide you through the ESP Wifi Module update. During the update process, you will need to install a special firmware on your Battle Rifles so that the module can be programmed. Once the update is complete, you can install the appropriate firmware file for your operation. For instructions on updating your gun firmware, click here.
STEP 1: INSTALL GUN FIRMWARE
Important!: Be sure to cycle the power on your guns after installation
STEP 2: DOWNLOAD WIFI MODULE UPDATE TOOL
Click Here to Download the Firmware Update Tool
- Unzip file: “dev 2016.06.16_wifi_module_update”
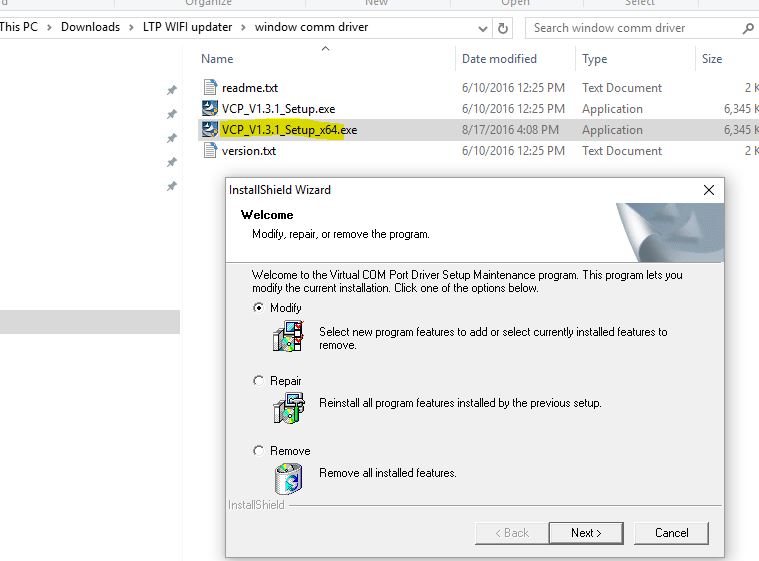
- Install driver: navigate to “dev 2016.06.16_wifi_module_update” –> “driver com port” –> select “VCP_V1.3.1_Setup_x64” (64-bit) or “VCP_V1.3.1_Setup” (32-bit) depending on your version of Microsoft Windows
STEP 3: LAUNCH UPDATER
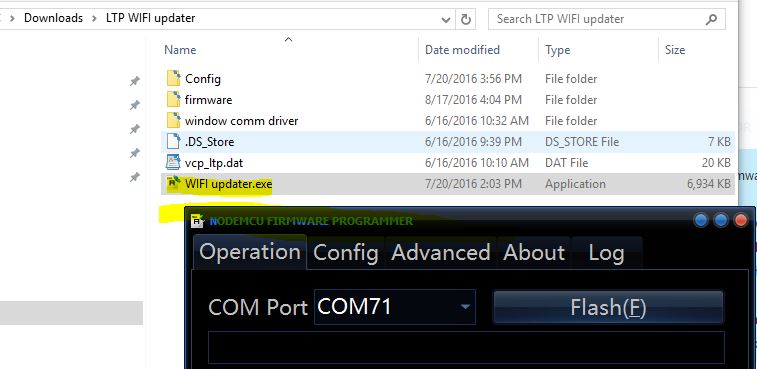
- Navigate to “dev 2016.06.16_wifi_module_update” –> “update esp” –> Launch “ESP8266Flasher”
STEP 4: LOAD FIRMWARE ONTO UPDATER
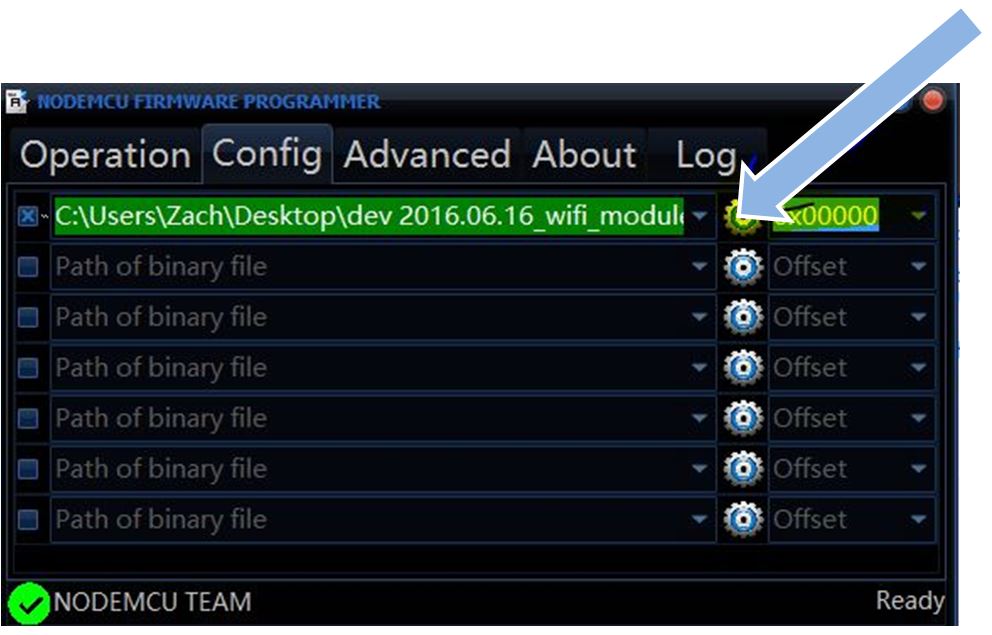
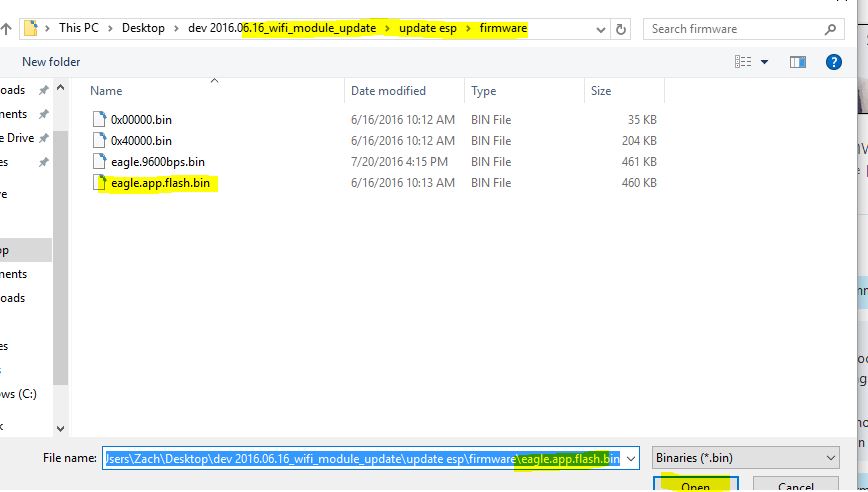
- Open Config tab in firmware uploader and press the gear to load firmware onto the program
- Locate the firmware file: navigate to “dev 2016.06.16_wifi_module_update” –> “update esp” –> “firmware” –> Locate file “eagle.app.flash.bin”
STEP 5: CONFIGURE UPDATER
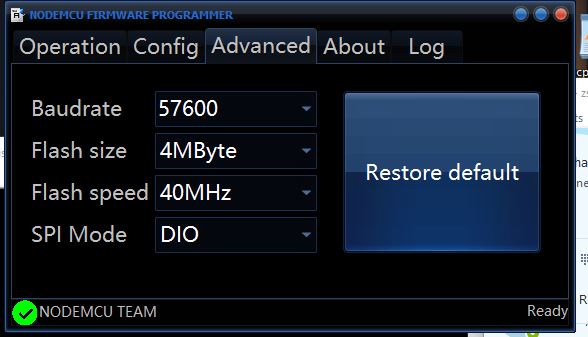
- On the Advanced Tab, match the settings in the picture above
STEP 6: PERFORM UPDATE
- Ensure you have updated the firmware on your gun to file “vcp_ltp.dat” (STEP 1)
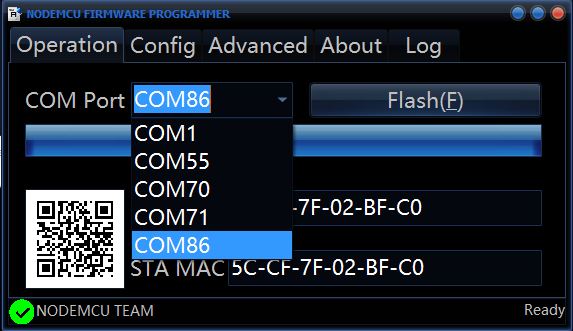
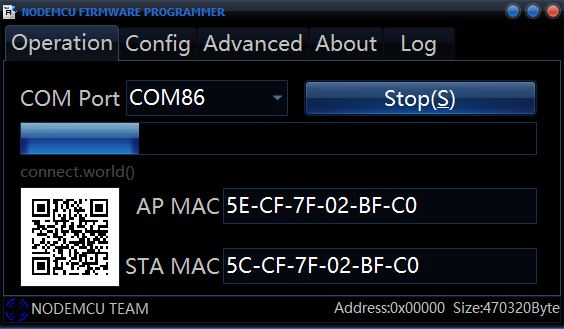
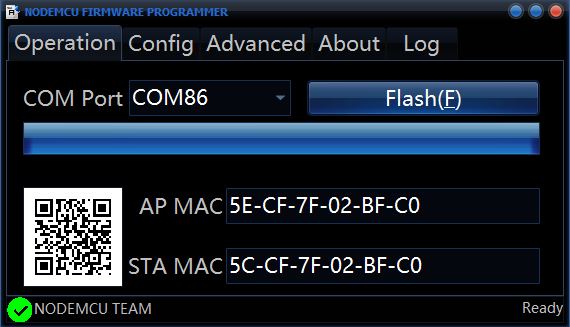
- On the Operation Tab, select the appropriate COM being used by your gun via USB to Micro USB cable
- Press the “Flash” button to perform wifi module update (time to update: 2-3 minutes)
- Note: you can leave the updater tool open between installs
STEP 7: FINISH UPDATE & RESTORE GUN FIRMWARE
- Cycle the Power on your gun after the update is complete.
- Follow instructions for updating gun firmware to return your guns to your current operational firmware version.

